For my VR experience, I created a dream state world. At first I was just gonna leave it at that and allow the player to aimlessly walk around this virtual immersive art experience. However, upon completing this part of the game I decided to actually add an objective. Therefore, the player will start the game in a seemingly ordinary home “waking up from a dream”. However, after noticing a plummeting air jet in the sky the player will walk outside to get a closer look and hopefully fall off the cliff. At this point in the game they will have been dropped down into the dreamworld, full of chaos and out of place, distorted objects. They must navigate this wonderland to find the exit point where they will return to home. Once they find the secret entrance they will drop back into their home. Upon going inside, however, they will find that there was never a way to escape and they will never wake up.
This assignment was not very challenging because for any question I had there was usually an answer for it online on the Unity forum. Like the professor said in class, this is an insanely easy piece of programming to use (until, of course, you get into the actual programming and game building part, I’m certain). I had an amazing time letting my imagination run wild. I wish I had the ability to turn this into a fully functioning game. I also wish I could have seen what this experience would have been like in a VR headset. The only issue I ran into was that sometimes, in first player mode, the computer would freeze and lock down. I would have to restart it completely. Through process of elimination, I guessed that I had to be when I either imported the house or background music. To be completely honest, I simply unselected some features under the music’s Inspector screen (“Load in Background”) and that did the trick. I had no further issues after that.
There are no suitable options for eating cereal on the go nor do any prevent an accidental spill. There’s also the the issue of soggy cereal.
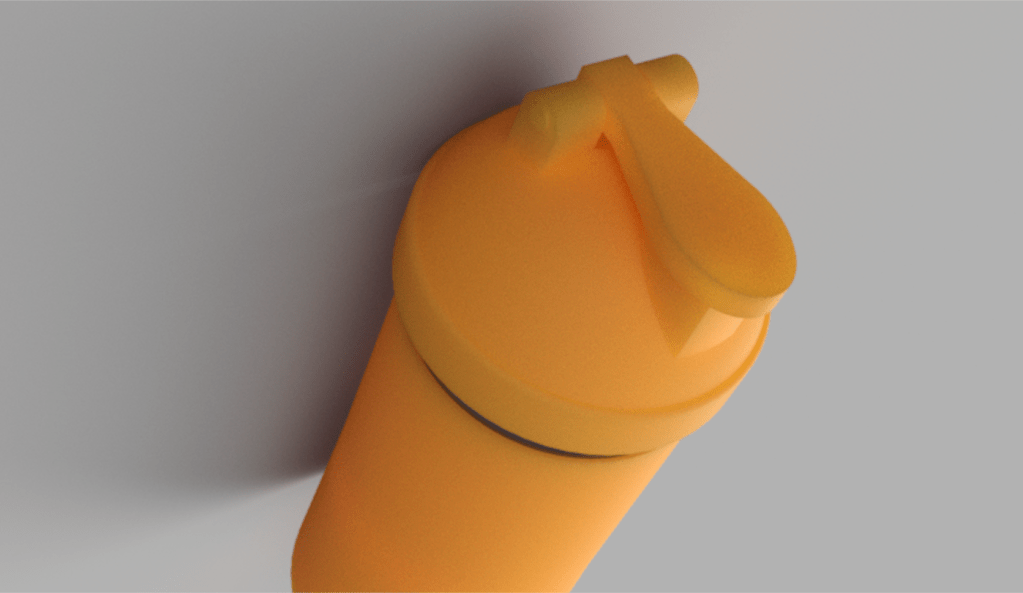
I have created a possible modern solution to the many flaws involving the current way we eat cereal. A cereal cup. A cup with a handy built in plate in the middle that conveniently holds milk and cereal for you when you are on the go. This function also allows you to take your time eating, as your cereal will not get soggy. You will now be able to eat cereal wherever, mess free!
It will look similar to the Blender Bottle above, however, there will be a plastic screen in the middle. It will include a similar lid and mouthpiece compatible for any cereal brand. When you want to consume your cereal simply give the cup a shake or hold it upside down to saturate the cereal and enjoy.
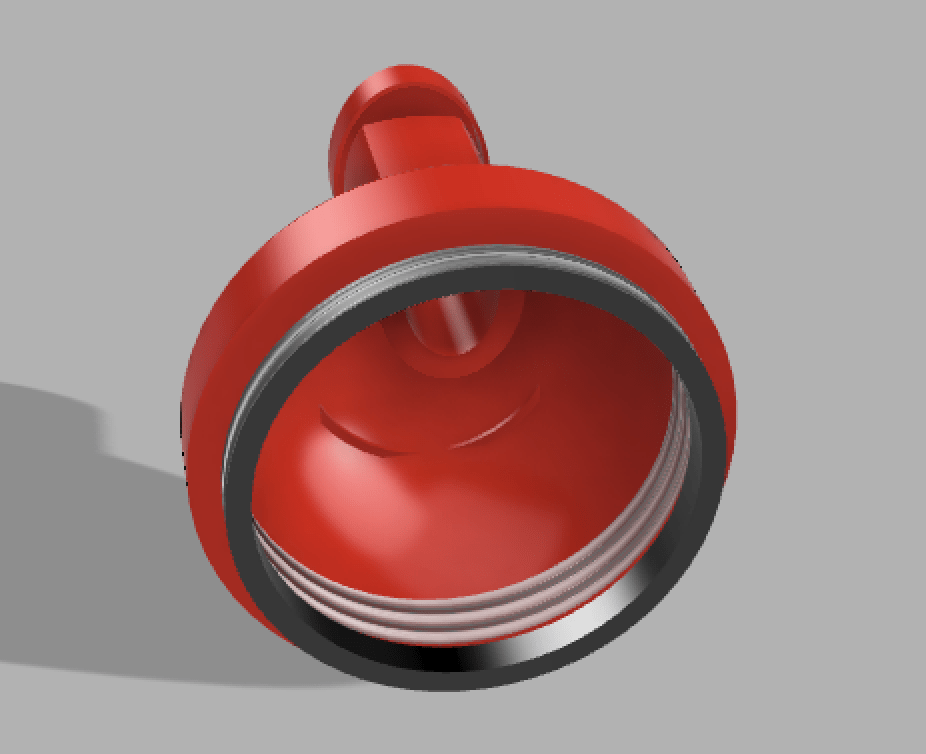
Upon creating this object, I started with a standard cup shape. I learned quickly, however, that this cup would need a more of a protein cup shape-like cylinder. In this project, I learned how to create netting for the inner mesh plate and how to make a thread to connect two pieces.
The only difficulty I encountered was the lid and making sure the pieces fit together. When I create a physical copy in the lab, adjustments most likely will have to be made.
Reference size: Blender Bottle – 3.8 x 3.8 x 6.8 inches
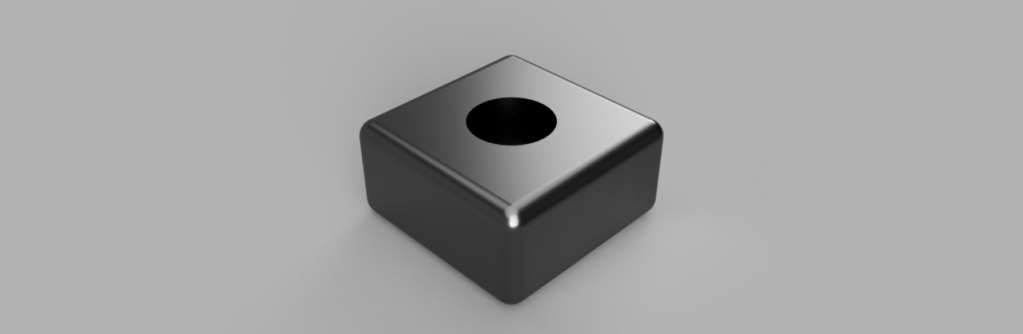
A simple cube with rounded corners and a hole in the middle.
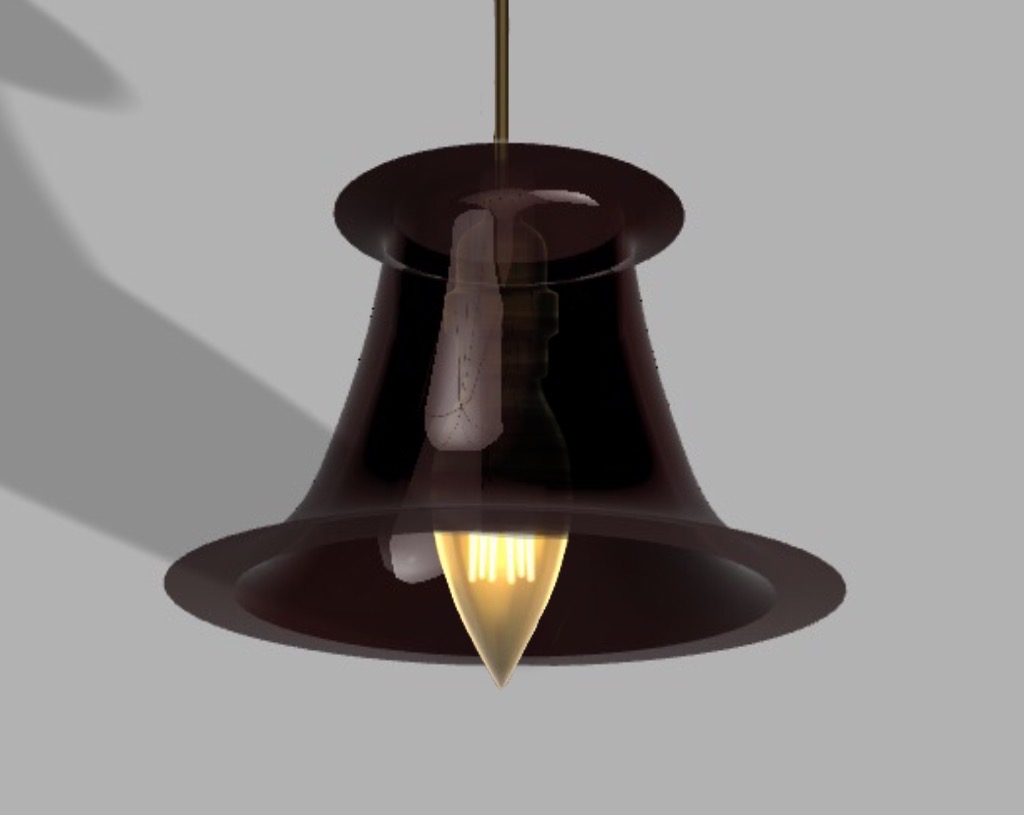
Model 2: Lampshade
The lampshade was a cool idea. I had no idea we would be able to create it from a scribble. I like the way the glass appearance effect looks, therefore, I created a pendant light for my lampshade. It was quite vague when we were asked to draw “a single scribble” so it definitely took me a few tries to get the vision I was looking for.
A Single Scribble
Rendered Lampshade
A Nice Lamp
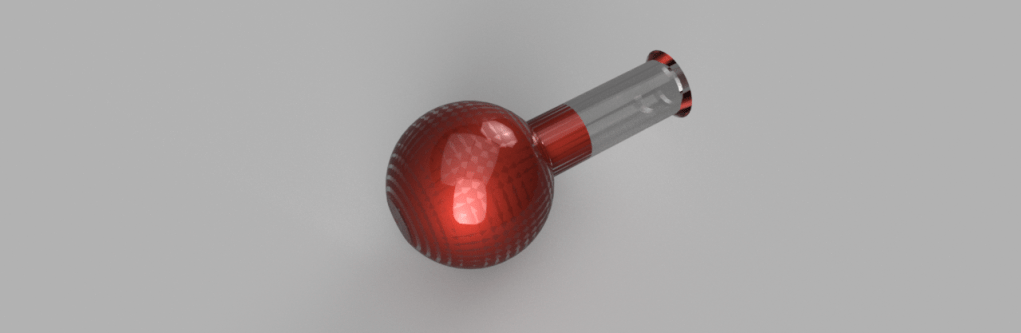
Model 3: The Flask YET AGAIN!
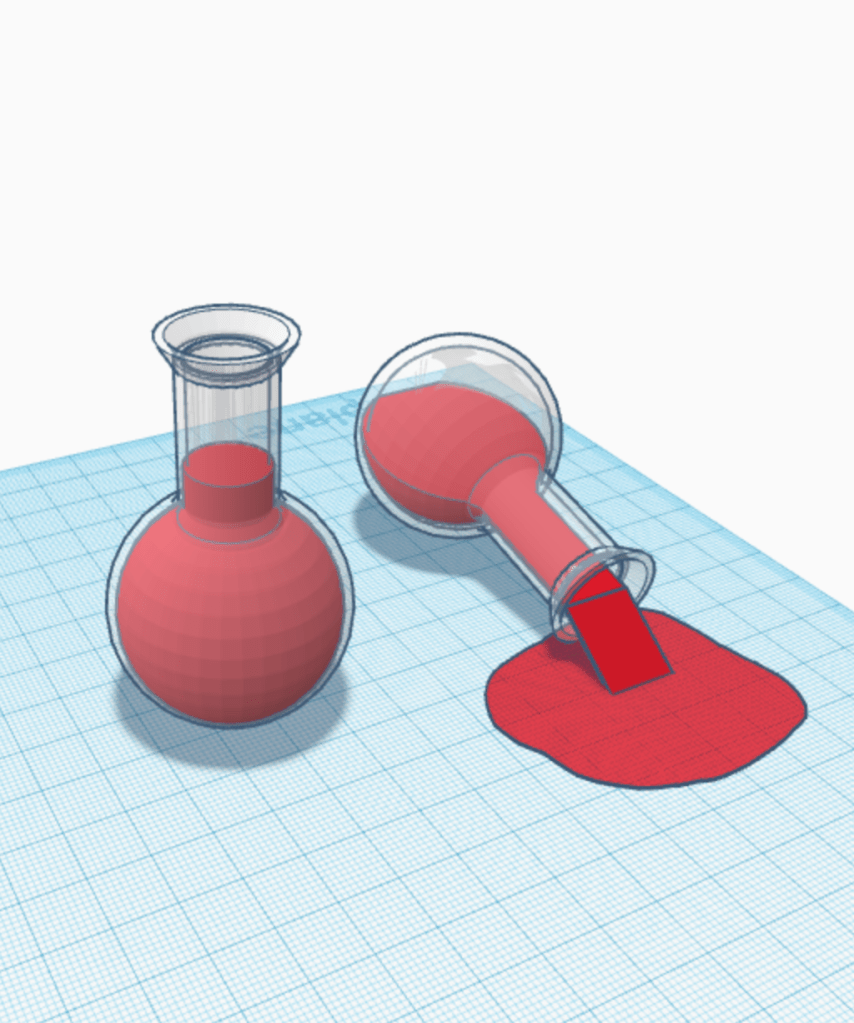
It was very helpful that we went over this in class. I realized Fusion 360 is a friend of mine. After I finished the shape I decided to play around and recreate what I made in TinkerCad.
A FlaskA Spilt Flask
Rick enjoying a cold one.
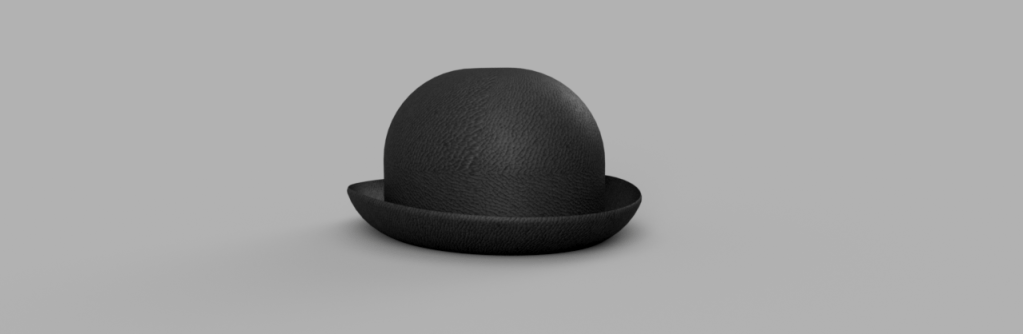
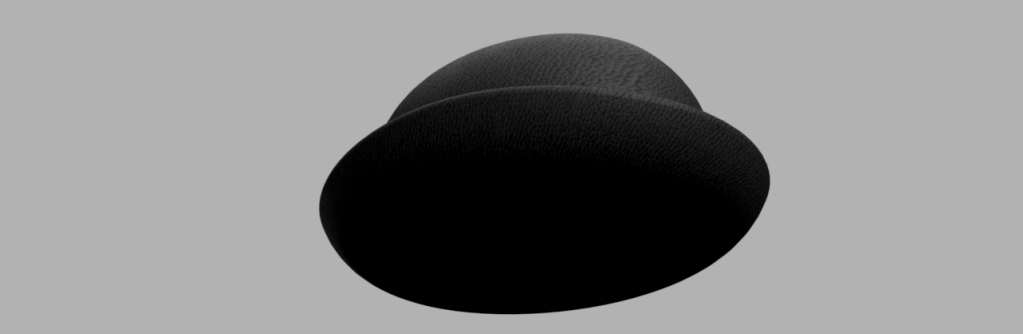
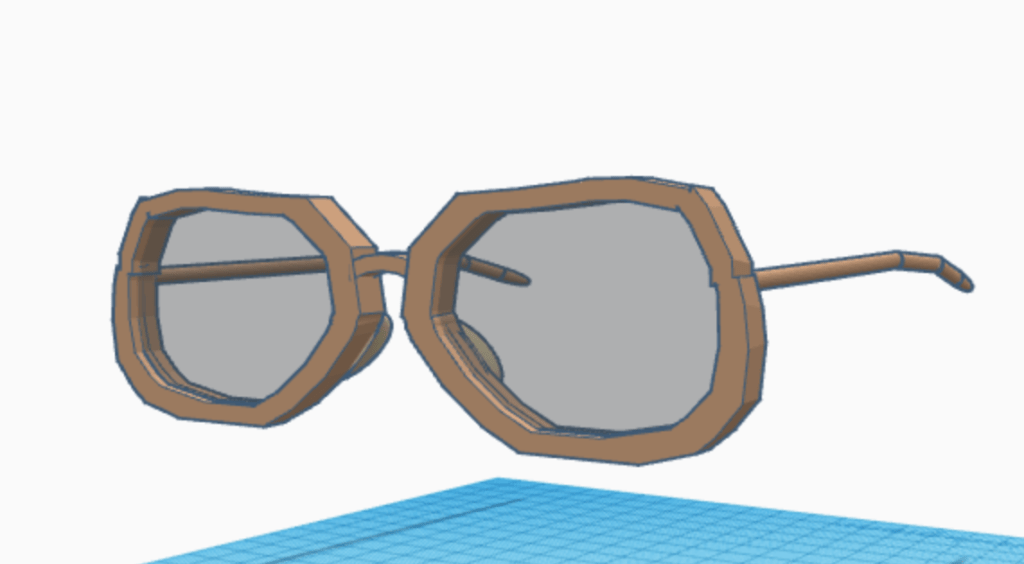
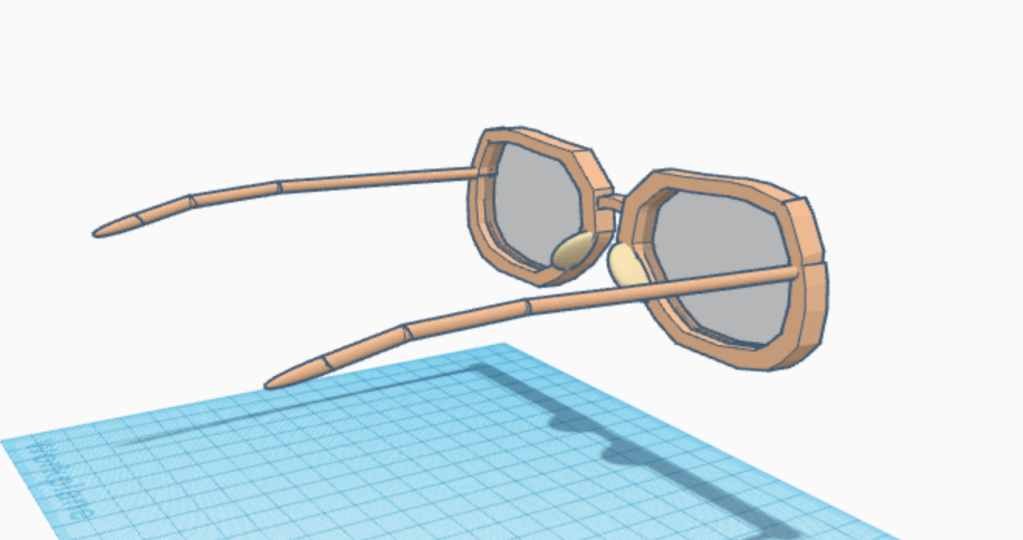
Model 4: Return of the Bowler Hat
The bowler hat wasn’t too challenging considering we did it many times in class. I even added a nice red lining to mine. One issue I encountered with this object was that my computer struggled to render the underside of the image. I tried multiple times but it was always quite shadowy. I have included the un-rendered version for more clarification.
Bowler Hat Guy
Every time we had to create a bowler hat all I thought of was the bowler hat guy from Meet the Robinsons.
For this assignment I had two, equally enjoyable, objects to create. My first idea was a vertical folder that was made specifically for backpacks. Like me, I shove loose paper in my backpack all the time. This object would avoid the hundreds of crumpled papers and stray notes floating around from the entire semester. I thought, however, there must be something like this out there already. Thus my second object became my first choice.
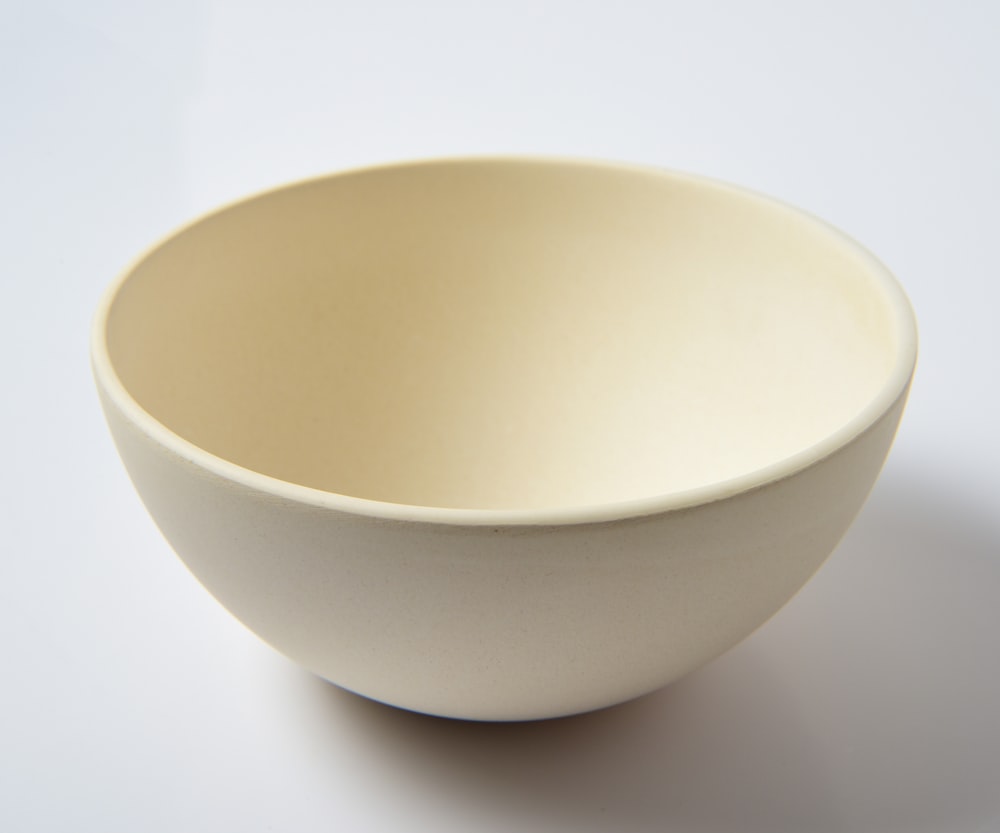
The way we eat cereal is extremely outdated. Most eat a bowl of cereal out of something like the image below. This is great until you want to bring it with you: in the car, to work, to school, or to the park. And imagine if you were eating it on the couch a your dog jumps up on you, getting the cereal everywhere.
Bowl
The only invention regarding cereal consumption would be this object below. Similar concept to the bowl above, but with the added pizzaz of a straw to conveniently drink the milk once you have eaten the cereal.
Cool Bowl
A Possible Solution
Neither of these options are suitable for on the go travel nor do they prevent an accidental spill. They also still have the issue of soggy cereal after only a few minutes. I have created a possible modern solution to the many flaws of eating cereal. A cereal cup. A cup with a handy built in wire plate that conveniently holds milk and cereal for you when you are on the go. This function allows you to take your time eating, as your cereal will not get soggy. You would now be able to eat cereal wherever, mess free!
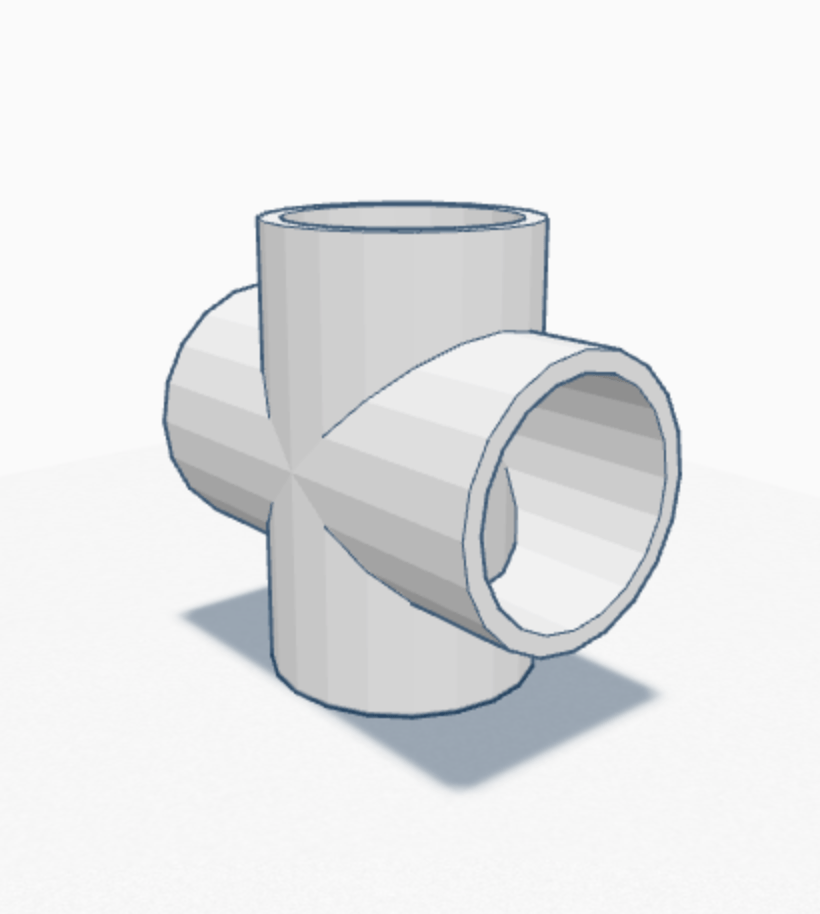
I thought the tutorial was daunting when I attempted it in class. Once I gave it a shot on my own, the shape was much easier to build. A big part of the learning process here, for me, was familiarizing the buttons and features within FreeCAD. The assignment itself was not difficult; however, learning a new piece of software was. After all the difficulties I encountered throughout this assignment, I became more confident with the different features. This assignment did take me about an hour or so to get the essential functions down. Overall, however, the tutorial was self-explanatory, and I did not need the added help of watching the YouTube videos.
Object 1
Object 2
With its simple design, Object 2 was easy to accomplish. I brainstormed a couple of ideas; however, for my experience, I went with this concept. The previous object made this much easier to make. Another reason I chose this design was that the software kept crashing. This could be due to my parents’ minimal wifi. I was also limited in other places I could go to work on this assignment. Regardless, I was satisfied with the result. One addition I wish I could have pulled off would have been to incorporate a binder-clip-like effect, where the user could squeeze two prongs. It could then be adjustable to many different types of desks.
Preliminary Sketch with Measurements and Description
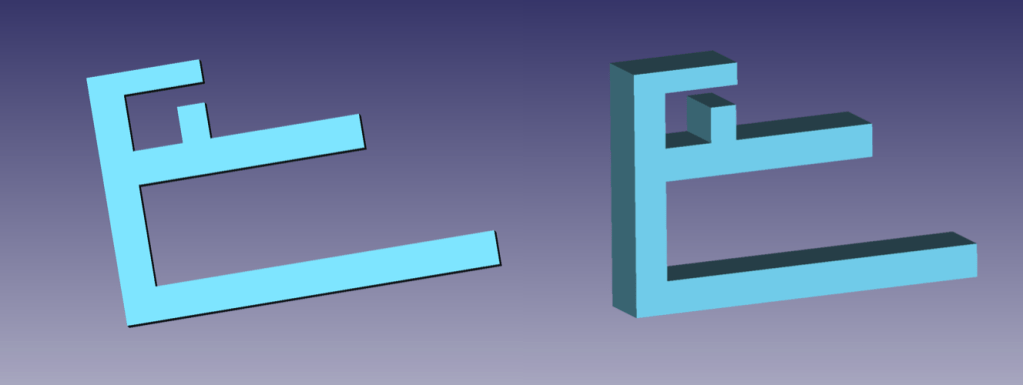
I started with the main backbone that would hold the other bars. I ensured I kept up with the measurements so I could record what desks this device would be compatible with. I then proceeded to add the two primary prongs that would secure the object to a desk. Since the bottom prong is longer, it weighs down the entire object and allows it to be compatible with more than just 3 inch desks. Finally, I added the top sections that would hold the cords. Initially the 8mm piece was on the roof of this section. While creating the object, I realized this was a design flaw and changed it to fit on the bottom, creating a ‘G’ shape. This ensured the cords would not slip out. While creating this object I became more fluid with the program and found out more features, like changing the color.
Object 2
Example– Object 2 on 2.6″ Desk
Object 3
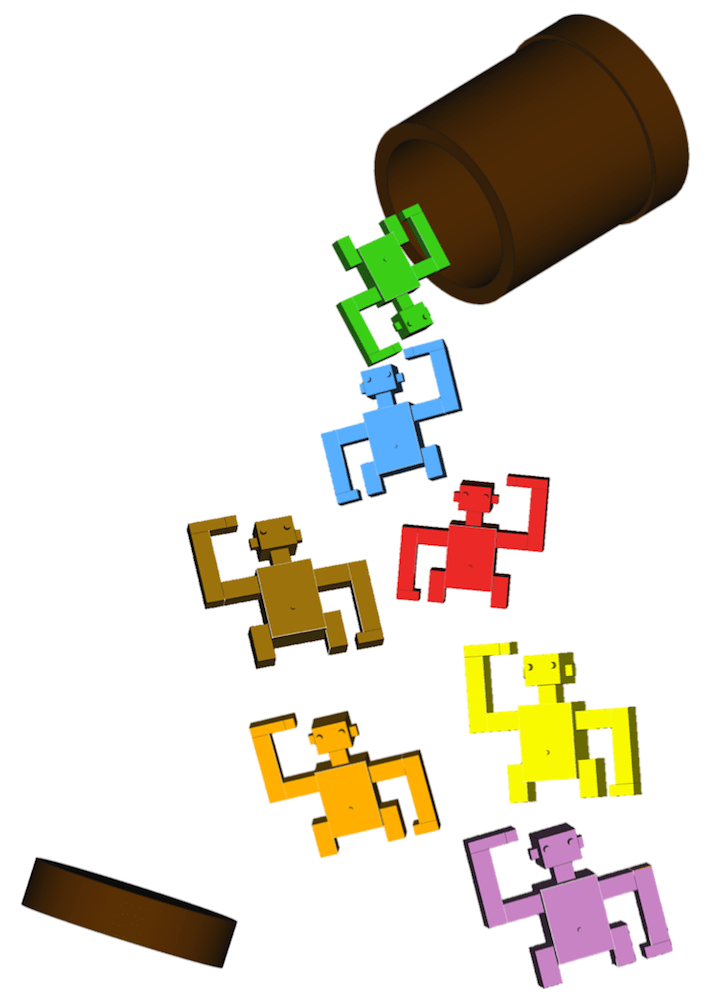
I had many ideas for Object 3. For example, a pair of hands that could hold each other, an artistic puzzle that would fit together, puzzle pieces, and monkeys in a barrel. The first two ideas seemed a bit advanced for my current skillset in FreeCAD. The puzzle pieces, however, seemed too easy. Therefore I thought the concept of monkeys in a barrel would work the best for this assignment.
Inspiration for Object 3
Two Monkeys From the Barrel
I began Object 3 with the torso. I tried using a sphere and cylinder to create the body and head. This proved futile. I wish I could have made the monkey more smooth and less robotic. Due to the program crashing, and little tutorials online for animal creations, I decided to stay with the boxes. I liked how they turned out, but I still strived for perfection. I stumbled upon the option to upload a dxf file. I searched for a free file of a monkey but no luck. I continued onward with the arms and legs. I ensured that all body parts were lined up and the same dimension so the monkey would be proportionate. During this assignment, I learned to play with the hollow tool (for the barrel) and the height of specific details for the eyes, belly button, and hands. One feature I was confused about during the finishing touches of Object 3 was refining the monkey. I tried and tried to refine him so there would be no lines, but the whole object would disappear. Even when I went through and individually made each part “true” for refine, I still got no results. I searched Google and tried different options but in the end, I could not successfully refine it.
Moving into 3D Modeling I am very interested to see what is to come next! Tinkercad, although highly elementary, was fun and I enjoyed the preliminary means to build 3-dimensional objects. I feel as though Freecad will be a whole other level of skillset. Regardless, 3D Modeling is something I have always been intrigued by and I am excited to learn more!
My group and I came up with the concept of our app and delegated roles for the project on Friday. Our idea is a wellness app, and I thought the name HealthHelper was catchy and straightforward. I’m delighted I picked this group. So far, we have worked very well together, and most of the work has been distributed evenly. We met this past Sunday and continued to work at a reasonable speed.
Jackson, Kassi, and I are all ensuring we get a well-organized set of notes. Kassi and I brainstormed the pages for the app and what they will consist of. We have also sourced the information which will be included on each page. Kassi is also composing a PowerPoint for our presentation. Shiv and Ayusha are working on building the app itself, bringing our visions to life. I am in charge of the app’s design elements. I have designed a preliminary outline to get the feel of the app as well as the logo and color scheme.
We hope the app will greet visitors with a welcome screen which will allow them to choose from four options.
An Activity Log where they can document and track their workouts and what they’re doing to stay active.
A Meditation Screen that lists meditation/ mindfulness techniques and includes a timer for users to enforce 5 to 10 minutes of meditation.
A Pedometer that tracks steps!
A Nutrition Screen that provides users an alphabetized list of superfoods, the benefits of each, and recipes to try.
For this assignment I decided to create a way users could paint on top of their photos from their camera roll.
I’m creative and I like to draw so that was the inspiration for this app. I used a tutorial from appinventor.org as a template to help me create the app. This tutorial also allowed me to get more familiar with the website’s tools. The basics were easy to accomplish: Dragging and dropping the canvas, buttons, layout and ImagePicker, as well as labeling and coloring them. The tutorial got me far enough to figure out how to link the buttons to specific actions and to their respective colors. It also simplified how to link screen touch to draw circles and lines on the canvas. The most difficult part was syncing the ImagePicker to the canvas. This was where I ruined everything… I tried to place the ImagePicker as though it were to act as the entire screen or canvas, thinking I then could delete the original canvas add on. This deleted all the connections with blocks I had previously created and it took some time to redo all of this. There was no tutorial to link the two so I had to use context clues. I played around with the blocks and finally clicked “when ImagePicker1.AfterPickingdo” placed “setcanvas1BackgroundImageto” inside, followed by “ImagePicker1Selection”.
It worked and I was satisfied.
After thoughts:
Although this was an elementary way to code (if it even resembles real code) it did get me instantly intrigued with the way coding works. I wish the class had been pushed into the deep in with a real way to learn. From a beginners perspective, however, it was a great introduction and was easy to manage. Overall the assignment took me an hour and a half to complete. I’m excited to see what comes next!
Hello, my name is Annie! I’m a junior here at FSU studying Retail Entrepreneurship in hopes of focusing on the importance of sustainability in a future career. I have so many interests in multiple areas of study, it’s hard to think that retail one out. However, I hope to take what I learn and join the movement into propelling us into a greener future. Some of my other interests include the arts, ancient mythology, and religion (its origin and development throughout history across cultures). As you could assume, those have been my favorite classes so far here at FSU.
Technology is something that I’d like to add to the mix. It has always been a topic of interest and aw. I’ve always wanted to dive deeper into the subject but would tell myself it was something to be better be left to the professionals. Although I needed to fill my e-series credit, I searched and searched and waited until I found one that would interest me most. I was excited to find Exploring Emerging Technologies (I didn’t even know a class like this was offered for non majors). A man who always came into my work, Aaron, would talk to me about The Hub on campus and told me to come by and check it out. The idea sat in the back of my mind, so I’m glad I’ve found an opportunity to jump in! I have no idea what I’ll create in this class but I am so excited to find out.
I don’t really know how to label my “skillsets” but I’m a creative thinker and problem solver. I might be in the minority but I have always loved school and the possibilities of what I can take from it. I enjoy anything arts related, as well as meditation and reading. I’m a cat mom and her name is jiji.